Are you yearning to breathe new life into your home but feeling overwhelmed by the myriad of options available? Dive into the world of do-it-yourself (DIY) home decor with these five inventive and achievable paint ideas that will elevate your interiors without the need for professional assistance. From geometric brilliance to free-flowing creativity, these techniques offer a fresh, personalized look, allowing you to reimagine your living space with minimal mess and a touch of artistic flair.
1. Geometric Brilliance: The Tape Technique
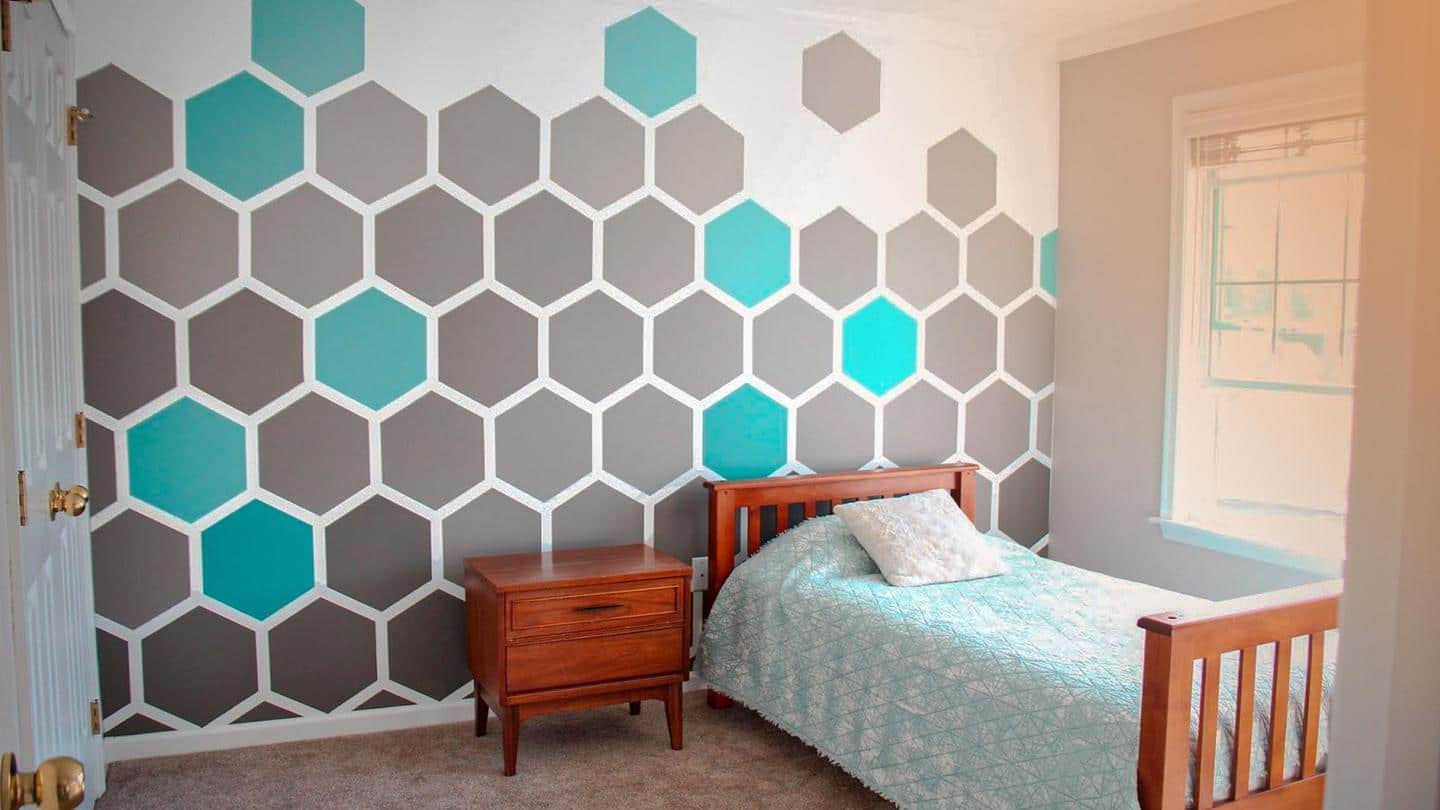
Painting geometric patterns on your wall might sound complex, but it’s surprisingly easy with the tape technique. Here’s a step-by-step guide to achieving geometric brilliance in your home:
- Choose Your Base Color: Start by selecting a base color that complements your overall decor. This will serve as the backdrop for your geometric design.
- Apply Painter’s Tape: Once the base color is dry, use painter’s tape to create geometric shapes. Triangles, octagons, or even a fishnet design can add a modern touch to your space.
- Paint the Spaces: Carefully paint the spaces created by the tape with a contrasting color or a shade that complements the base. Let it dry thoroughly.
- Remove the Tape: Gently peel off the painter’s tape to reveal clean, sharp lines. To add an extra layer of complexity, tape around blank spaces and paint them with a different shade.
2. Gallery Wall Magic: Showcasing Your Memories
Gallery walls are an excellent way to display cherished memories through photographs and artwork. Here’s how you can create a stunning gallery wall with a touch of paint:
- Choose Your Frames: Select the photographs or artwork you want to showcase. Plan their arrangement on the wall, keeping in mind the overall layout.
- Create a Visual Blueprint: Lay out the frames on the floor to create a visual blueprint. This allows you to experiment with different arrangements before committing to one.
- Drill Holes and Hang Frames: Once satisfied with the layout, drill holes in the wall and hang the frames accordingly. Consider painting around the edges of the frames to highlight and unify the display.
3. Chic Stripes: Elevate Your Walls with Style
Striped walls exude sophistication and style when done right. Follow these steps to achieve chic stripes in your home:
- Seek Inspiration: Explore platforms like Pinterest and Instagram to gather inspiration for your stripe design. Choose a color palette and decide on the thickness of the stripes.
- Apply Painter’s Tape: After applying a base coat, strategically use painter’s tape to mark the areas for your planned stripes. This step requires precision to ensure straight lines.
- Paint Within the Gaps: Paint within the gaps created by the tape, ensuring even coverage. Once the paint is dry, carefully remove the painter’s tape.
- Add Contrasting Colors: For an extra touch of sophistication, consider painting the gaps with a contrasting color. This adds depth and visual interest to your striped accent wall.
4. Free-Flowing Creativity: Unleash Your Artistic Vision
Express your creativity freely by creating a wall that reflects your unique artistic vision. Follow these steps to achieve a free-flowing masterpiece:
- Apply Base Coats: Start by applying two coats of your chosen base layer to the wall. This provides a canvas for your creative expression.
- Sketch Your Idea: Lightly sketch your creative vision on the wall with a pencil. This will serve as a guide as you begin the painting process.
- Water Down Your Paint: Dilute your desired paint shades with water to create a fluid consistency. Begin brushing the paint onto the wall, starting with bordering and gradually filling the spaces.
- Step Back and Assess: Periodically step back to assess your work and ensure it aligns with your initial vision. Embrace the fluidity of the process and enjoy the evolution of your free-flowing creation.
5. DIY Stencil Elegance: Add Intricate Patterns with Ease
Creating intricate patterns on your walls doesn’t have to be challenging. Follow these steps to achieve DIY stencil elegance:
- Craft a Stencil: Craft a DIY stencil using thick paper or opt for a sponge for abstract designs. This stencil will serve as a guide for your chosen pattern.
- Apply a Lighter Base Shade: Paint the entire wall with a lighter base shade. Opt for plastic paints for easy cleanup in case of spills.
- Position and Paint: Once the base coat is dry, position the stencil on the wall and paint over it with a darker shade. Repeat the process until the entire wall is adorned with your chosen pattern.
Embark on your DIY journey with these versatile and accessible paint ideas. Whether you’re a novice or an experienced painter, these techniques empower you to personalize your space with a touch of creativity and minimal effort. Transform your home one accent wall at a time, making a bold statement with these innovative and budget-friendly ideas. Elevate your living space and revel in the satisfaction of creating a home that truly reflects your style and personality.
